Blogger Tutorial-Moblie Friendly

Do you want your readers to be able to read your blog on their mobile devices?

1. Log in to Blogger In Draft http://draft.blogger.com/home(use the same log in info as you would on blogger.com)2. Click on Settings

3. Click on the Mobile & Email tab

4. Where it says “Show mobile template” you want to select “Yes, On mobile devices, show the mobile version of my template”

5. If you like you want click on “mobile preview” to see what it would look like on a mobile device

6. Click save and you’re done.
This was borrowed with permission from Wacky Jacqui Designs.

Tutorial-Adding Pictures To Your Sidebar

***I got asked on if it the steps are the same for uploading a pdf and as far as I can see the would be the same steps except the last step would be different.  I will update this post again once I find the code you would use to PDF’s on your sidebar.

This is a tutorial for people who use wordpress.org because it is a little bit different to add pictures to their sidebars.  I am going to show how to use your own server to host the pictures but you can also use Photobucket as well.

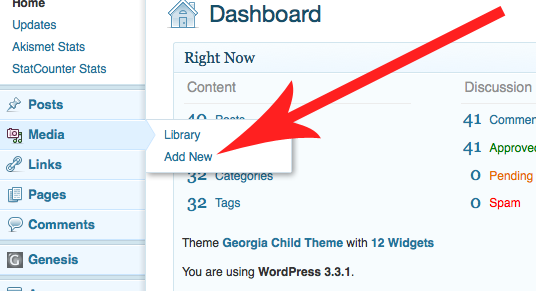
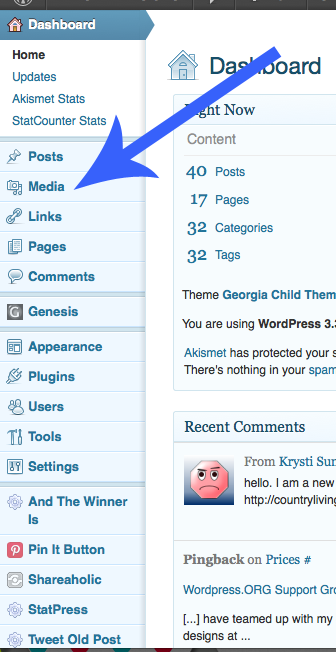
  1. You are going to login into your blog and click on Media & then Add New
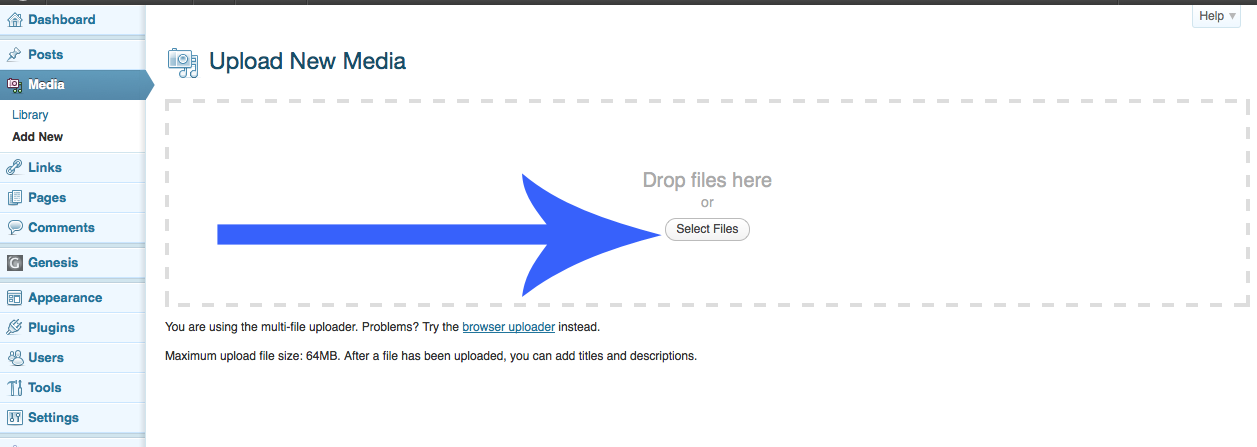
  2. Once you click on add new you will see the same screen you get when you add pictures in your posts:
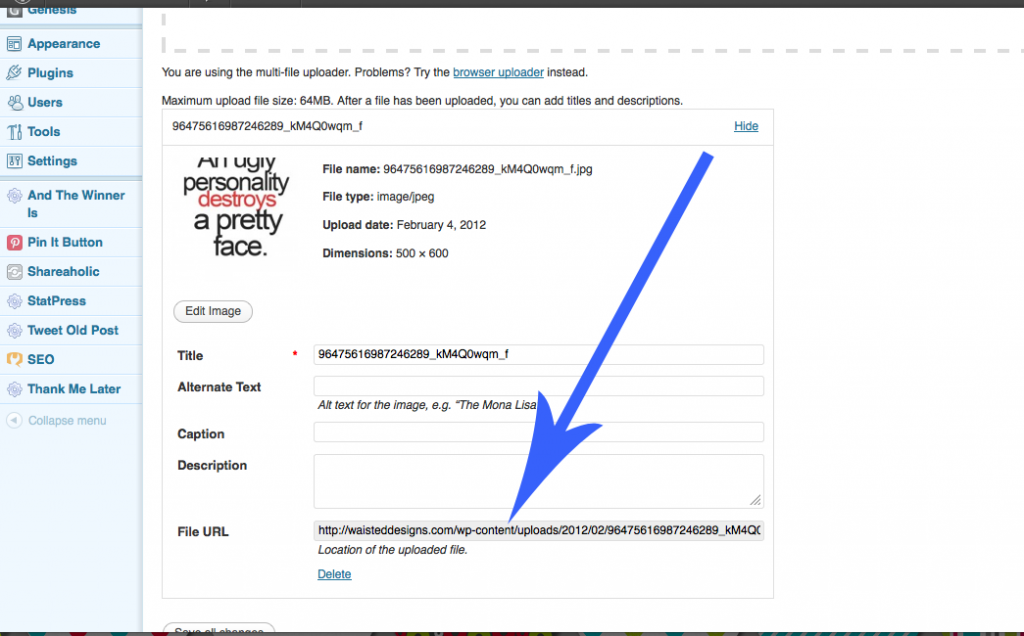
  3. After you upload the picture you are  going to grab the link to the picture for here:
  4. You will the plug that url into this coding:                                        <center><img src=”LINK GOES HERE” border=”0″ alt=”title”></a></center>
  5. You then take that code and put it in the “text” widget on your sidebar.

Please let me know if you need more help or if something doesn’t make sense!

How To: Use The Google Fonts Plugin on WordPress.Org

As most of you know I made the switch about a month ago to wordpress.org.  Since I have been here I have messed around with tons of plugins to see what I liked and what I didn’t.  So far my favorite one to mess with has been the WP Google Fonts.  On my other blog I had the fonts customized  because I love messing around with fonts.  Right now mine is back to normal because I really haven’t had the time to put up a cool font.  I am going to write this tutorial on how to use the plugin or at least what I have figured out that is.

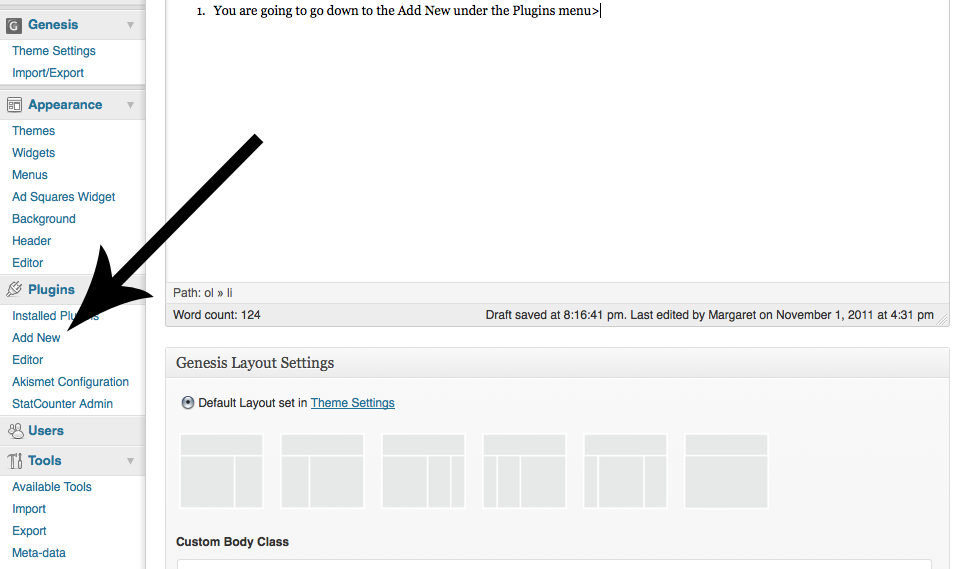
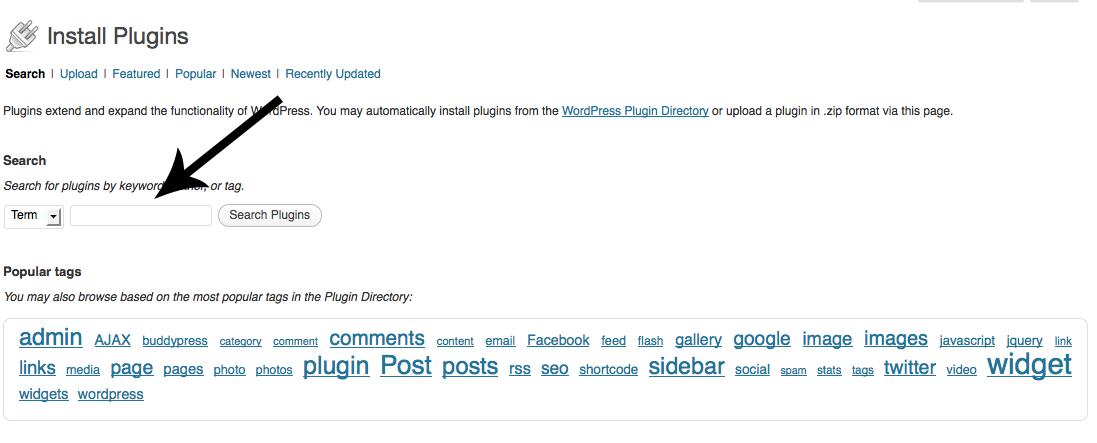
  1. You are going to go down to the Add New under the Plugins menu
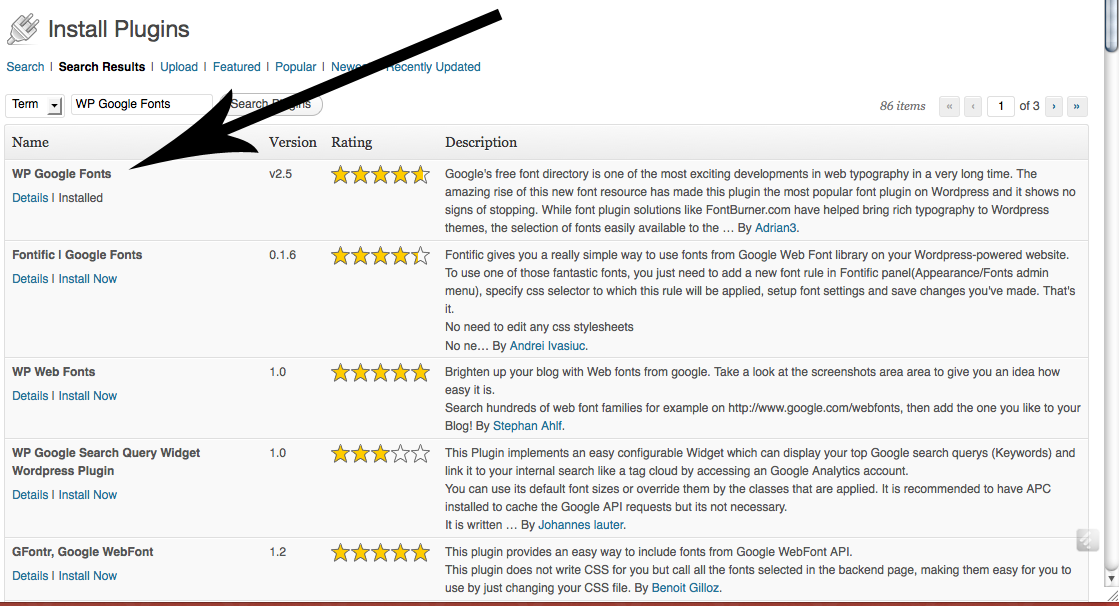
  2. Then you are going to type WP Google Fonts  into the search box and hit enter
  3. It should be the first one the pops up and you want to click on the install now button
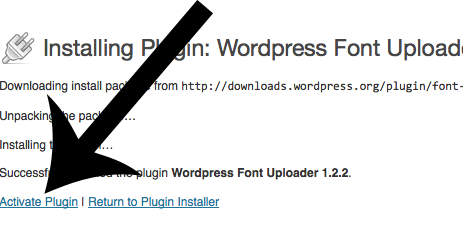
  4. Once it adds it you want to click on activate plugin
  5. Once it is activated you are going to on and click on the plugin under the setting menu
  6. It will open the plugin and you can then go and select the font you want to used and the check where you want the font to show up on your blog.  I go to the website and look at what the fonts look like and then go and find the font I like.

Please let me know if anything doesn’t make sense.  Also please let me know if there is any other tutorial you would like to see.